WHAT WE’LL BE BUILDING
In this tutorial, you’ll learn how to use Laravel Lumen (version 8) to create REST APIs.
We’ll be creating a Lumen microservice that implements all the types of HTTP requests. Our microservice will help us manage users. So, from any frontend application we connect to our microservice, we should be able to:
– Create a new user (POST Request)
– Edit the details of a user (PUT Request)
– Request for the details of users (GET Request)
– Delete a user (DELETE Request)
Here’s a link to the GitHub repo of this project: Repo
Tools Required:
· You need to have PHP installed. The minimum PHP version that is compatible with Lumen 8 is PHP 7.3. If you have the latest XAMPP, WAMP, or LAMP installed, you should be good to go.
· You also need to have Composer installed. If you don’t have it, click here to get it.
Knowledge Required:
- Basic knowledge of Laravel will help you follow along.
Let’s Get Started!
Install lumen on your system by running the command below via a CLI:
composer global require “laravel/lumen-installer”
Next, in your CLI, navigate to the directory that you want your project to be located in and create a lumen project using the command:
composer create-project — prefer-dist laravel/lumen projectName
NB: Replace “projectName” with whatever you want to name your project.
Lumen comes with some boilerplate code; a simple template that we can build upon. If you want to take a quick look at it, run php -S localhost:8000 -t public via your CLI and run localhost:8000 in your browser. You should see something like this:
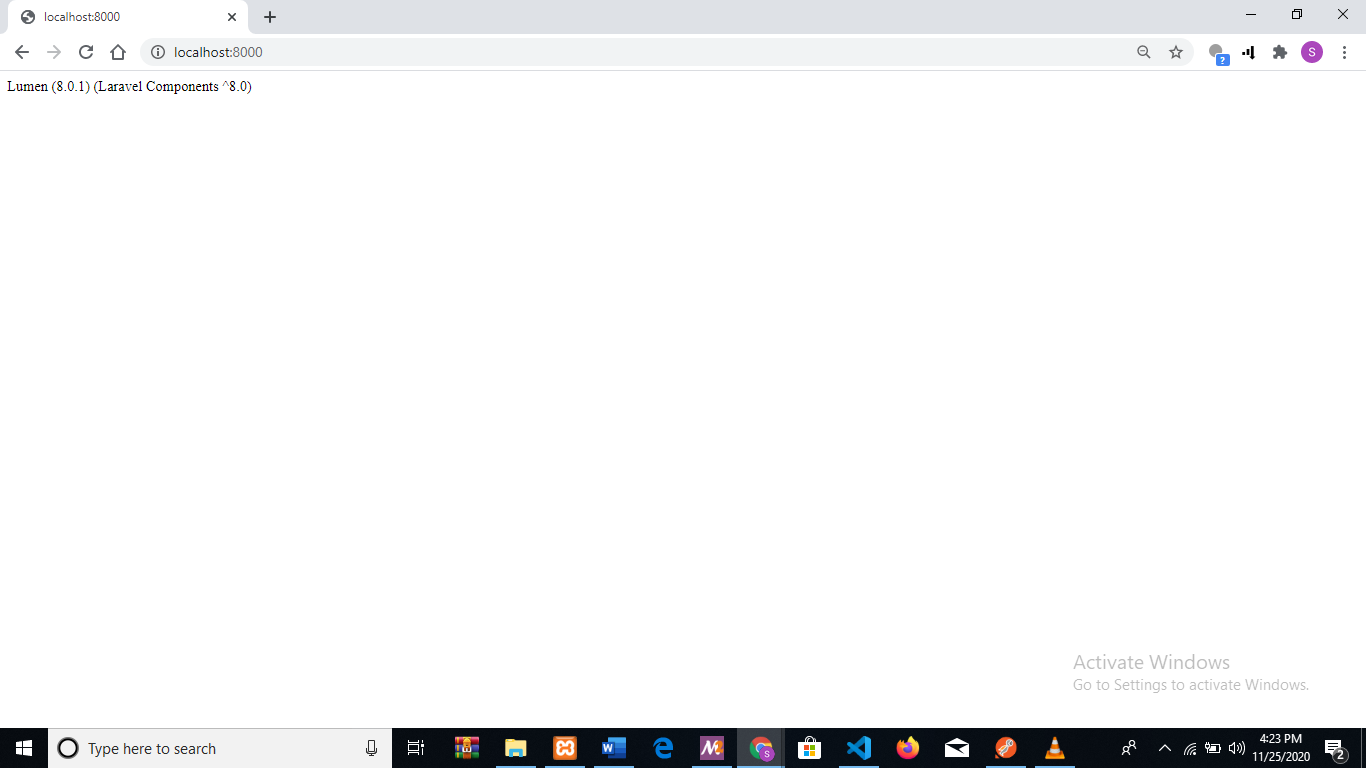
Now, let’s continue with creating our microservice.
The next thing we want to do is create a database for our microservice. This is where all the details of our users will be stored. There are a number of ways to do this. I’m going to stick with MySQL, and I’ll make use of PHPmyAdmin. Feel free to use whatever option you deem best.
Make sure your server is running(XAMPP, WAMP, or LAMP). Go to your browser and enter localhost/phpmyadmin. Create a new database and take note of the name you used.
Next, let’s add our database details to our lumen project, so as to connect both together.
Open the newly created lumen project with any code editor of your choice, navigate to the .env file, and update the name of the database, the username, and the password.
By default, the username should be “root” and there should be no password.
Now that our database is set, we can start working on the actual project. In this project, we’ll be making use of Laravel’s Eloquent and Facades classes. In Lumen, these classes come disabled, so we have to enable them ourselves. To do this, navigate to boostrap/app.php and uncomment the lines below:
//$app->withFacades();
//$app->withEloquent();
Now, your bootstrap/app.php file should look like this:https://omojolasamsonade.medium.com/media/68dd19d605319f97a4cb061e715cd5b4
We’ll be making use of Eloquent and Facades in our routes and controller files.
Now that we have that set up, let’s create our users table in the database we just created. Run the following command in your CLI:
php artisan make:migration create_users_table
Navigate to the migrations folder and open the newly created users migration file. This is where we decide what columns the users table should have.
Each user should have a first name, a last name, and an email address. So let’s go ahead and create columns for them.
$table->string(‘first_name’);
$table->text(‘last_name’);
$table->integer(‘email_address’);
Now, your users migration file should look like this:https://omojolasamsonade.medium.com/media/0caf4f7320a9f21e3159fbc2f5741ebf
To create the table, run the following command in your CLI:
php artisan migrate
Now that we’ve successfully created our users table, the next step is to create our User model. In Lumen, there’s no CLI command for creating models, so navigate to your app/Models folder, create a file and name it User.php. If you find a User.php file already created in that folder, just use that instead. Now, let’s map it to our database:
protected $fillable =[‘first_name’, ‘last_name’, ‘email_address’,];
It should look like this now:https://omojolasamsonade.medium.com/media/05657cd2cae8ab19b8e53a881583d282
Now we need to create the appropriate routes for our microservice. The code that will process API calls will be in a controller file named UserController. UserController will contain different methods for handling all the different HTTP requests, and each method will need a route pointing to it. The routes will serve as triggers for these methods. Every time they are called, the methods will be executed. We’ll be giving all the routes a common prefix “api/v1” (think of it as them all belonging to the same family).
Navigate to routes/web.php and add the needed routes:
$router->group([‘prefix’ => ‘api/v1’], function () use ($router) {
$router->post(‘users/add’, ‘UserController@createUser’);
$router->get(‘users/view/{id}’, ‘UserController@viewUser’);
$router->put(‘users/edit/{id}’, ‘UserController@updateUser’);
$router->delete(‘users/delete/{id}’, ‘UserController@deleteUser’);
$router->get(‘users/index’, ‘UserController@index’);
});
Your web.php should look like this:https://omojolasamsonade.medium.com/media/8ae6347853eb6a9604c797d0068e5403
(The comment above each route explains what the route does).
Now that our routes are set, we need to actually create that controller file with the methods we are referencing above. These methods will be in charge of handling our API calls and processing our requests.
Go to app/Http/Controllers and create a file named UserController.php
These are the methods we need:
Create New User
public function createUser(Request $request){
$user = User::create($request->all());
return response()->json($user);
}
update user details
public function updateUser(Request $request, $id){
$user = User::find($id);
$user->first_name = $request->input(‘first_name’);
$user->last_name = $request->input(‘last_name’);
$user->email_address = $request->input(‘email_address’);
$user->save();
return response()->json($user);
}
view user
public function viewUser($id){
$user = User::find($id);
return response()->json($user);
}
delete user
public function deleteUser($id){
$user = User::find($id);
$user->delete();
return response()->json(‘Removed successfully’);
}
list users
public function index(){
$user =User::all();
return response()->json($user);
}
Your User Controller should look like this:https://omojolasamsonade.medium.com/media/2d970a97395fe287e49e3d980da9c2e3
The first method createUser() allows you to create a new user.
The second method updateUser() allows you to update the details of an already existing user.
The third method viewUser() allows you to view the details of a user you created.
The fourth method deleteUser() allows you to delete a user from your database.
The fifth method index() allows you to list all the users you created.
Now, if a call is made to any of the routes in web.php, the corresponding method in UserController is triggered.
You can use Postman to make the http request. To do that, make sure your lumen server is running. Use this command to get it started: php -S localhost:8000 -t public
Next, fire up postman.
Let’s test createUser() first. Send this HTTP request via Postman: http://localhost:8000/api/v1/users/add

Create the required fields and supply them with values.
(Use the POST option)
You should get the details of the user you just created as a JSON response.
Next, let’s test updateUser(). We can edit the details of the user we just created. Send this HTTP request via Postman: http://localhost:8000/api/v1/users/edit/1
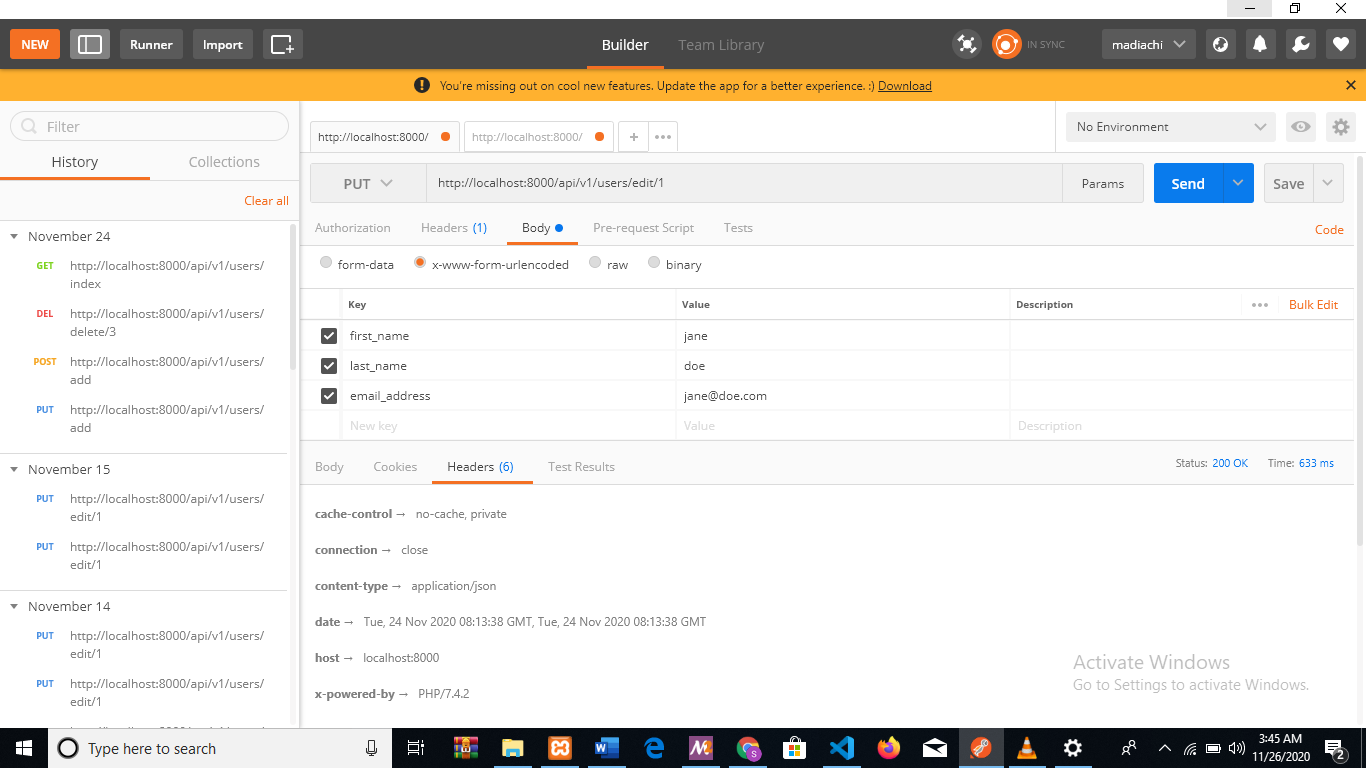
Supply the previously created fields with new values.
(Use the PUT option)
You should get the details you just entered back as a JSON response.
Next, let’s test viewUser(). We can view the details of the user we just created. Send this HTTP request via Postman: http://localhost:8000/api/v1/users/view/1
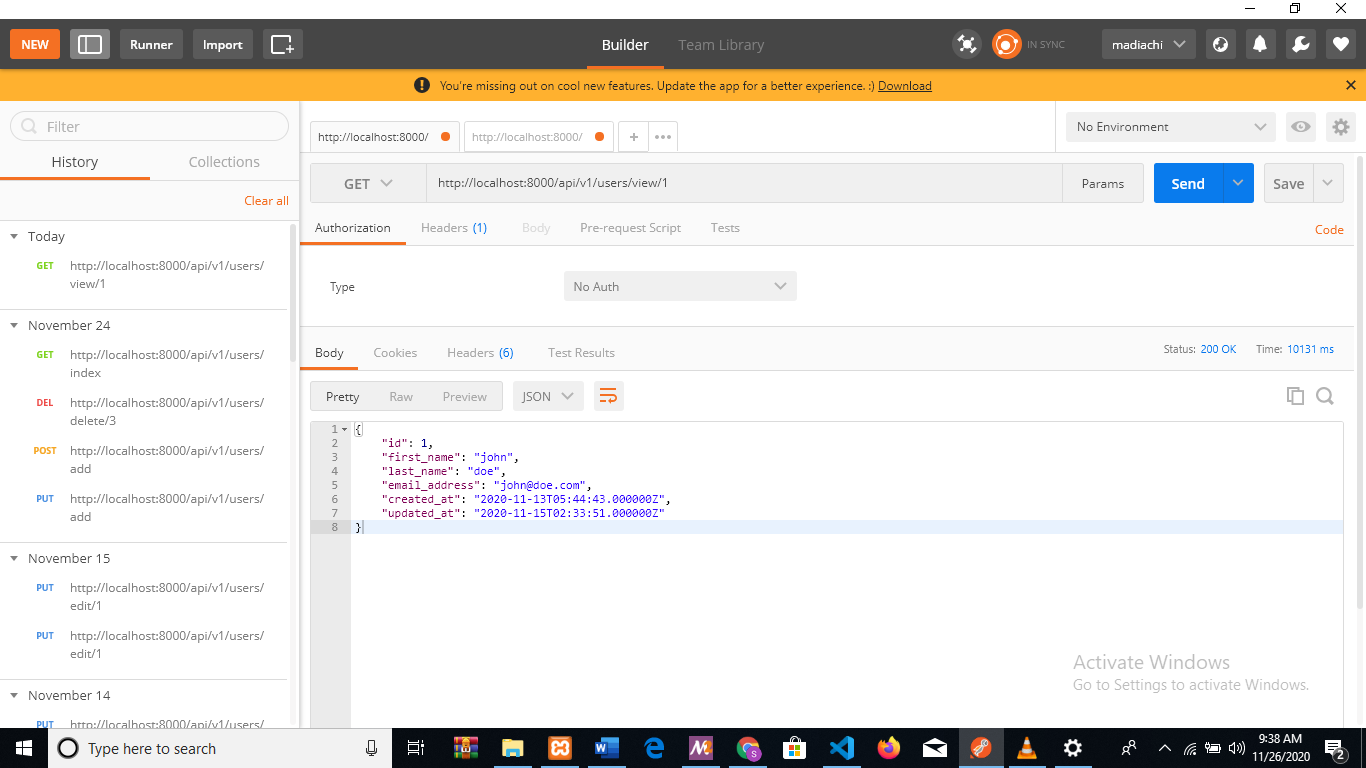
(Use the GET option)
You should get the details of the user you created back as a JSON response.
Next, let’s test deleteUser(). We can delete the user we just created. Send this HTTP request via Postman: http://localhost:8000/api/v1/users/delete/1
(Use the DELETE option)
You should get a success message back.
Lastly, let’s test index(). This will list out all the users we have in our database. Send this HTTP request via Postman: http://localhost:8000/api/v1/users/index
(Use the GET option)
BUILDING A CLIENT APPLICATION TO CONSUME THE API
Let’s create a very simple frontend application to consume the API we just created. A simple PHP application will suffice. Navigate to xampp/htdocs and create a folder for your frontend app. I’ll name mine “userfrontend”. Next, create a file in the folder and name it “index.php”.
Make sure your lumen microservice and your XAMPP are running.
We can use php’s curl function to make the API request, like this:
$url = ‘http://localhost:8000/api/v1/users/index’;
curl_setopt($curl, CURLOPT_URL, $url);
$data = curl_exec($curl);
Next, you convert the data to JSON format:
$decodeUsers = json_decode($data, true);
And lastly, loop through the data with a foreach loop and display each user’s data.
Now, if you go to your browser and run http://localhost/userfrontend, you should see the details of the users in your database.
Here’s a link to the GitHub repo of this project: Repo