Handling Time Zone in JavaScript
Recently, I worked on a task of adding a time zone feature to the TOAST UI Calendar, the JavaS ...
Recently, I worked on a task of adding a time zone feature to the TOAST UI Calendar, the JavaS ...
I have been cooking this blog topic idea for a long time. I did a lot of searching, reading and try ...
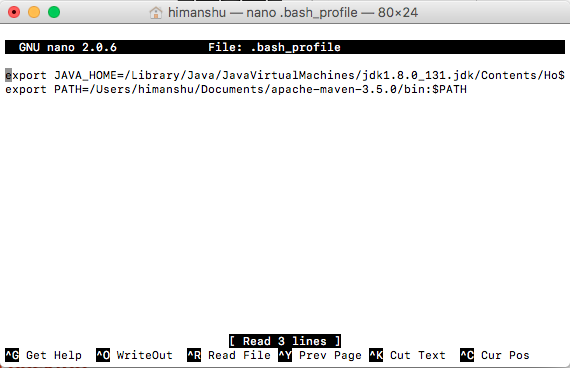
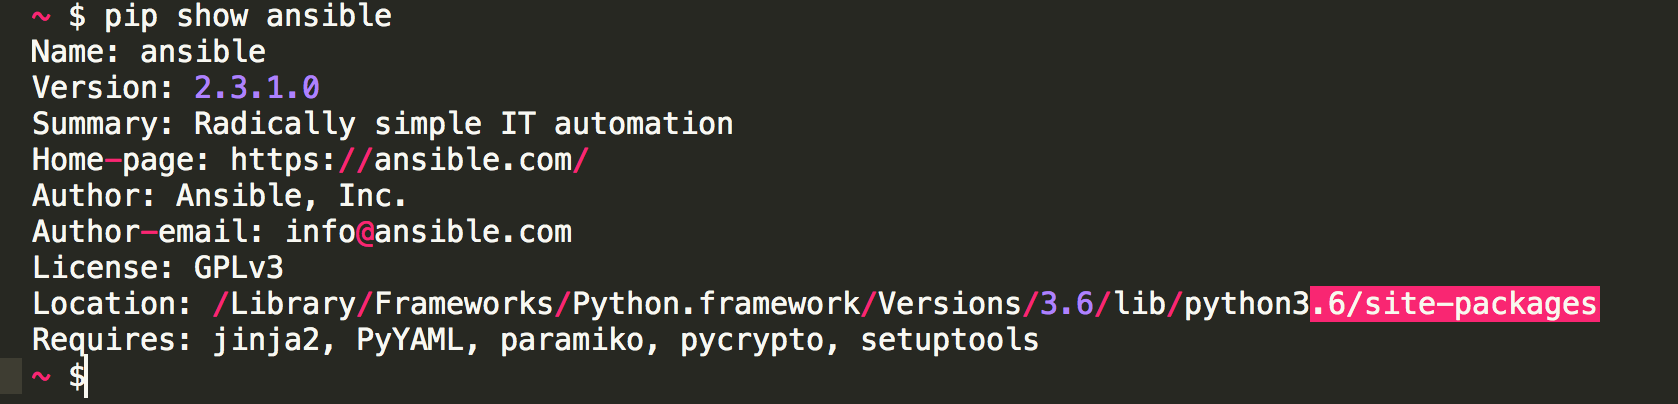
An environment variable in a named object containing data which can be used by multiple application ...
You might have come across this error while dealing with the openssl module. Inorder to solve th ...
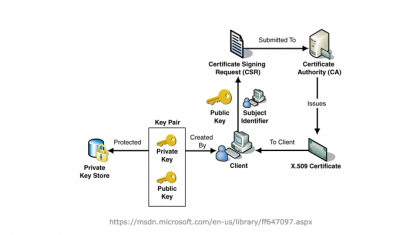
Problem : OpenSSL Security Advisory High severitySolution : Update it :) Mac OSX 10.1 ...
Finally a library you can pick up in under 5 minutes Costas AndreouDec 6 · 4 min ...

Learn to build a web app which auto-completes any input text Dev SharmaOct 27 · 8& ...

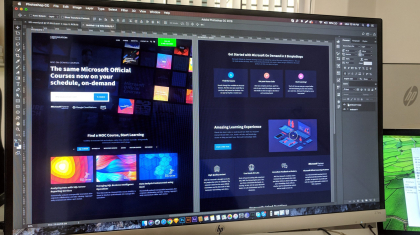
After struggling for a few weeks, finally, on my mobile, I could launch my page, that running on my ...